

5 common mistakes made by candle casting beginners
Candle making at home has become one of the most popular activities in recent years. It combines creativity, meditation, and a practical result—the handmade candles not only decorate the home but are also a great gift. However, as with any new skill, the path to an excellent result begins with learning and sometimes also with mistakes.
Our team has had the opportunity to work with hundreds of clients, observing how they take their first steps in candle making. Therefore, we have compiled the five most common candle making mistakes that beginners encounter, and we offer simple, proven solutions that will help you avoid them.
1. Mistake. A cracked or sunken candle surface
One of the most common surprises that candle making beginners encounter is an uneven, cracked, or sunken candle surface after cooling. At first, the candle looks great, but when it fully hardens, visible defects spoil the overall appearance.
Why does the candle crack or sink?
The main reasons for this problem are too rapid cooling or an unsuitable choice of wax. If the wax is poured too hot, then as it hardens it tends to shrink unevenly, leaving cracks or indentations. If the candle sinks, the wick size tends to be incorrect—a wick that is too small does not create a melt pool wide enough. See below the recommended pouring and maximum heating temperatures for the waxes we offer:
| Wax type | Max. heating temp. (°C) |
Pouring temp. (°C) |
|---|---|---|
| Soy wax | 85–90 | 50–65 |
| Paraffin | 95–100 | 60–80 |
| Stearin (separately) | 85–90 | 70–75 |
| Coconut wax | 75–85 | 50–60 |
| Palm wax | 95–105 | 85–90 |
| Beeswax | 85–90 | 70–75 |
| Rapeseed wax | 80–85 | 55–65 |
| Olive wax | 75–85 | 50–60 |
| Loose powder wax | 70–75 | ∼55–70 |
| Gel wax | 110–120 | 95–105 |
| Shea oil wax (in blends) | 70–80 | 50–60 |
| Sunflower wax | 80–85 | 50–60 |
How to prevent a cracked candle result?
To avoid this mistake, it is important to choose a suitable wax and observe the correct pouring temperature, which is shown in the table above.
We recommend using our soy wax, which ensures more even surface hardening and less shrinkage. Stearin helps the wax set denser and smoother, thereby reducing the risk of cracks and sinkholes.
The main thing—do not overheat the wax—observe the ideal pouring temperature. After pouring, let the candle cool slowly, avoiding drafts and temperature fluctuations!
An excellent technique is to wrap the molds with a towel so that even and gradual cooling is created. A mold that is too cold or too warm can cause cracks and sticking; ideally, the mold should be at room temperature (about 20–25 °C).
How to fix a sunken candle result?
If the candle has already sunk and is still warm, then you can wrap the jar with foil, leaving a small opening at the top, because this will retain heat and allow the edges to melt toward the center.
Note that for S41 wax and other vegetable waxes, sinking is a normal phenomenon!
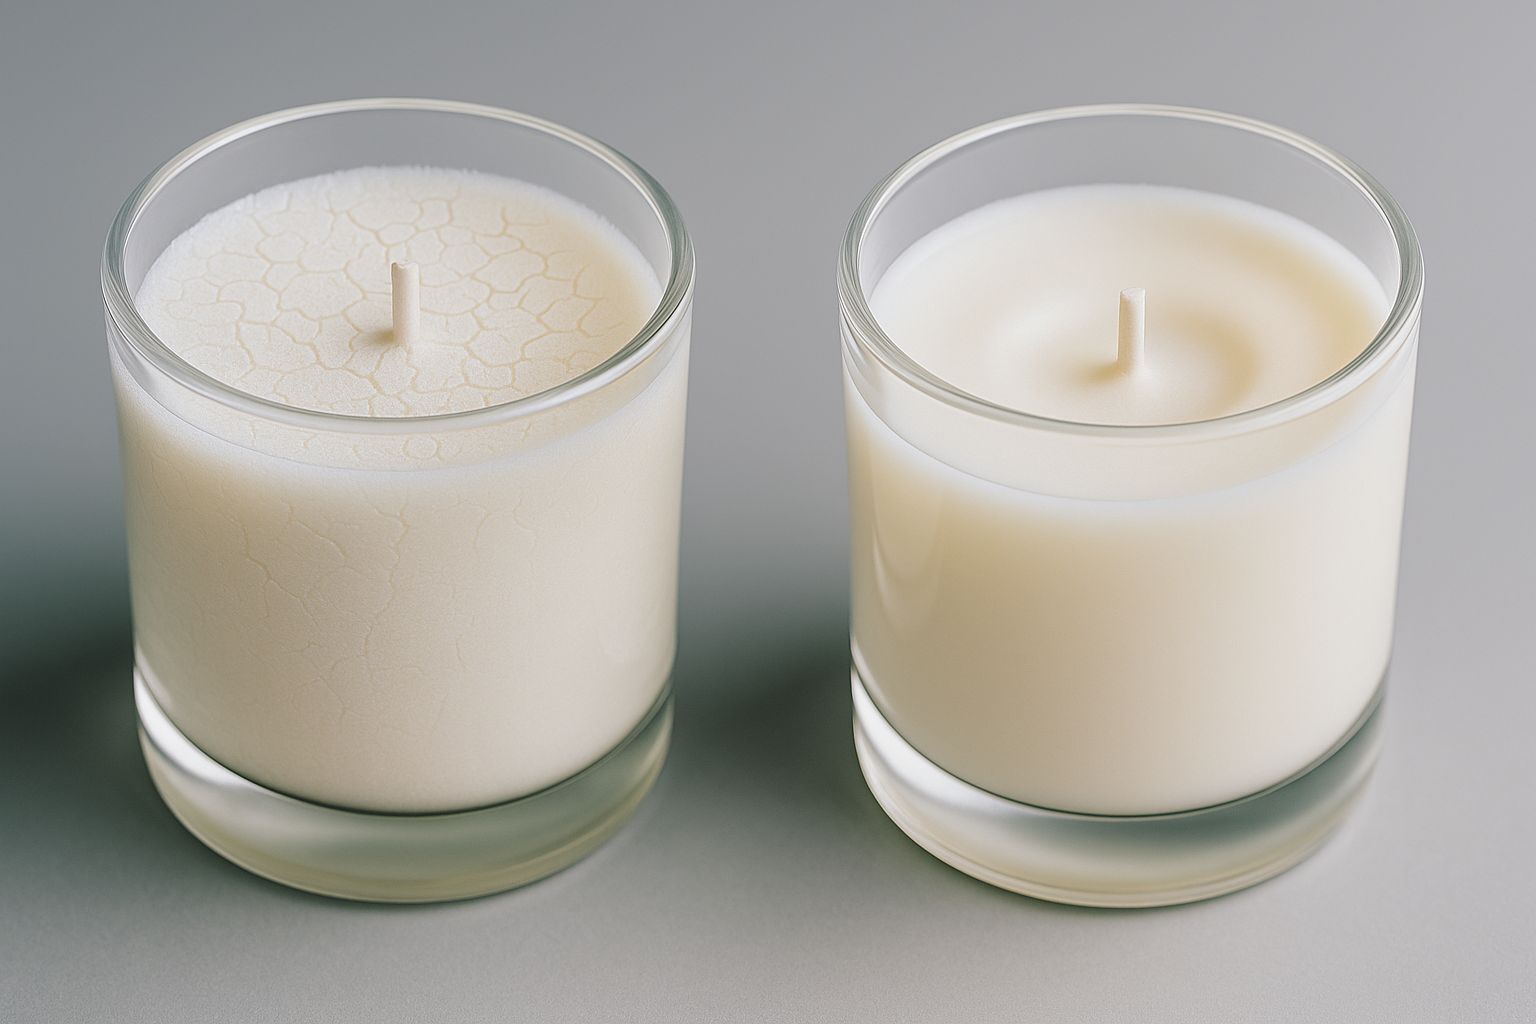
A candle with a cracked and sunken surface looks like this—a classic case when the wax was too hot or the candle cooled too quickly.
2. Mistake. The candle burns with soot or smokes
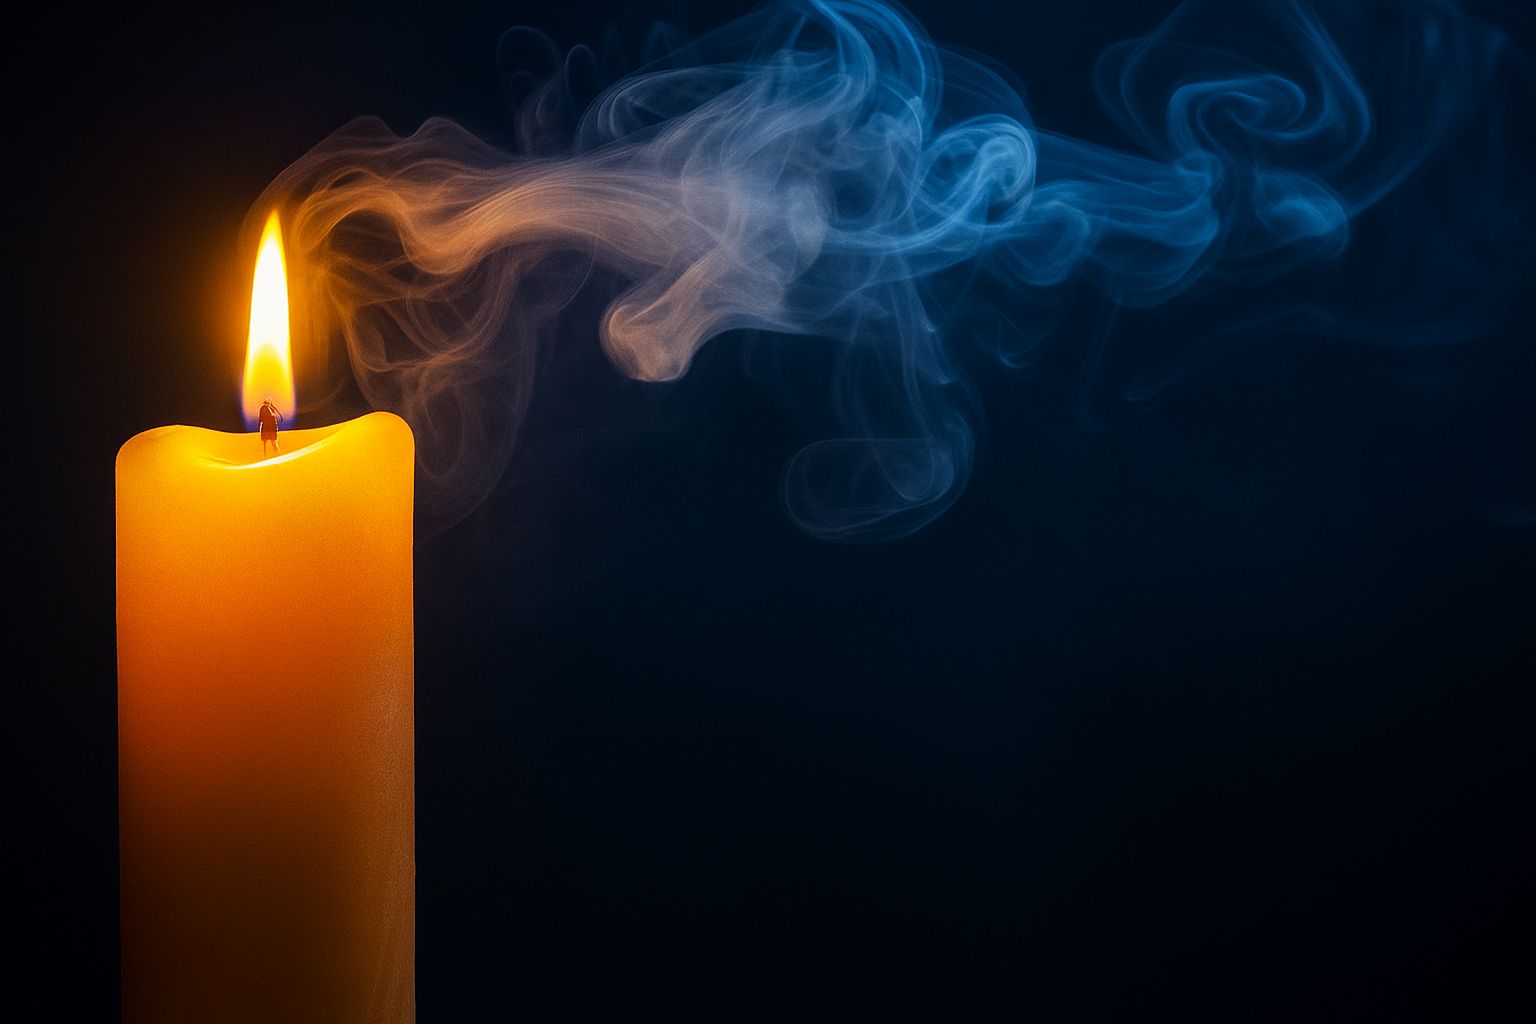
A smoking candle may seem romantic or cozy—but in reality it is a clear sign that something in the candle’s construction is not right. Such a candle not only impairs the air quality in the room, but also creates soot that settles on surfaces and can even damage walls or ceilings. In addition, it can be harmful to health, especially with prolonged use.
Why does the candle smoke?
Most often the culprit is an incorrect or unsuitable wick—for example, if the wick is too thick in relation to the candle’s diameter or also too long. This creates an uneven and overly large flame that consumes the wax too rapidly, emits smoke and soot, and can cause an unpleasant burning smell. The wick size and thickness can also be at fault.
Wax that contains impurities or unsuitable fragrances can also promote soot formation.
How to prevent candle smoking?
For the candle to burn cleanly and evenly, it is important to choose the correct wick and keep it at an appropriate length.
- Choose the right wick: Our candle wicks are especially convenient to use because each wick is labeled according to the candle’s diameter. This means you don’t have to guess—just choose the appropriate size and be confident of a good result!
How to choose a wick? Read HERE
- Wick length is important: Even with an ideally selected wick it is important to trim it regularly to about 5 mm in length. An overly long wick will go out and the candle will not burn. If in an already burned candle the wick becomes long, then the candle not only smokes, but also burns unevenly and creates a hot spot above the candle, which can damage the mold.
- Use a wick trimmer: This tool helps to simply and precisely maintain the wick at the correct length, especially if the candle is poured in a jar or other container with a narrow neck.
A candle looks impressive with a large flame, but its smoke and soot are harmful both to the environment and to health. It’s better not to use such a candle!
3. Mistake. The candle does not smell or the scent fades quickly
One of the main things that gives a candle a special charm and makes it a memorable gift or home fragrance is its scent. Therefore, it is especially disappointing when a carefully poured candle does not smell at all or its aroma fades after the first burning times. This is a very common problem that beginners face.
Why doesn’t the candle smell?
The main reason—the fragrance is added to wax that is too hot; its volatile components evaporate before the candle has hardened. Another reason is an insufficient amount of added fragrance.
Below you can see a table indicating the “wrong zone”—when the wax is too hot to add fragrances:
| Wax | Wrong zone (°C) |
|---|---|
| Soy wax | 80–90 |
| Paraffin | 90–100 |
| Coconut wax | 80–90 |
| Palm wax | 85–95 |
| Beeswax | 80–90 |
| Rapeseed wax | 80–90 |
| Olive wax | 80–90 |
| Loose powder candle wax | 80–90 |
| Gel wax | 95–105 |
| Shea oil wax | 80–90 |
| Sunflower wax | 80–90 |
How to prevent a candle from not smelling?
- Use quality fragrances intended for candle making. In our store offer there are highly concentrated essential oils and aromas.
- Add the fragrance at the right moment. The ideal temperature, at which the wax is still liquid but the aroma has not yet evaporated, is 60–75 °C.
- Observe the recommended proportion. To make the candle truly aromatic, add the amount of fragrance as indicated (on the packaging, in the instructions, in the product description); do not exceed it! If the recommended proportion is not indicated, then do not exceed 12%!
Example:
If you have 500 g of wax, then:
6% = 30 g of fragrance
10% = 50 g of fragrance
Below you can see the recommended amount of fragrance addition for each of our wax types, which depends both on the specific wax (see its description) and also on the maximum permissible dose that may be indicated for a particular aroma:
| Wax type | Recommended amount of fragrance (%) |
|---|---|
| Soy wax | 6–10% |
| Paraffin | 4–8% |
| Stearin | 3–6% |
| Coconut wax | 8–12% |
| Palm wax | 5–8% |
| Beeswax | 3–6% |
| Rapeseed wax | 6–10% |
| Olive wax | 5–8% |
| Loose powder wax | 4–7% |
| Gel wax | 3–6% |
| Shea butter wax (in blends) | 4–7% |
| Sunflower wax | 6–9% |
Always make sure you have added the fragrance correctly, so that you don’t start thinking like this as well—what did I do wrong?!

4. Mistake. Wax sticks to the mold
Wax sticking to the mold is one of the most annoying situations in candle making—especially if the candle cracks or gets damaged at the very last moment when everything seemed to have succeeded.
Why does wax stick to the mold?
- The mold is not prepared properly. The mold must be clean—without dust, wax residues, and moisture. If the mold is not completely dry (for example, after washing), the wax may stick unevenly.
- Incorrect cooling rate—if the wax cools too quickly (e.g., a cold room or mold), it shrinks unevenly and “sticks” to the mold walls.
- The mold is too warm or too cold. Ideally, the mold should be at room temperature (about 20–25 °C). A too cold mold can cause cracks and sticking; too warm also.
How to prevent it?
- Use the correct wax—paraffin with stearin or palm wax is most often used for figurine and mold candles, because they shrink and release more easily.
- The problem of wax sticking could also be in the choice of mold, so check out our candle mold offer.
- If you use silicone molds with many details or a complex design, we recommend using a more elastic wax blend with added beeswax—white soft.
- Cool slowly—keep the mold at room temperature, not on a windowsill with an open window or in the refrigerator.
- After cooling, allow the candles to stand in the mold for a few hours or even a day so that they detach more easily.
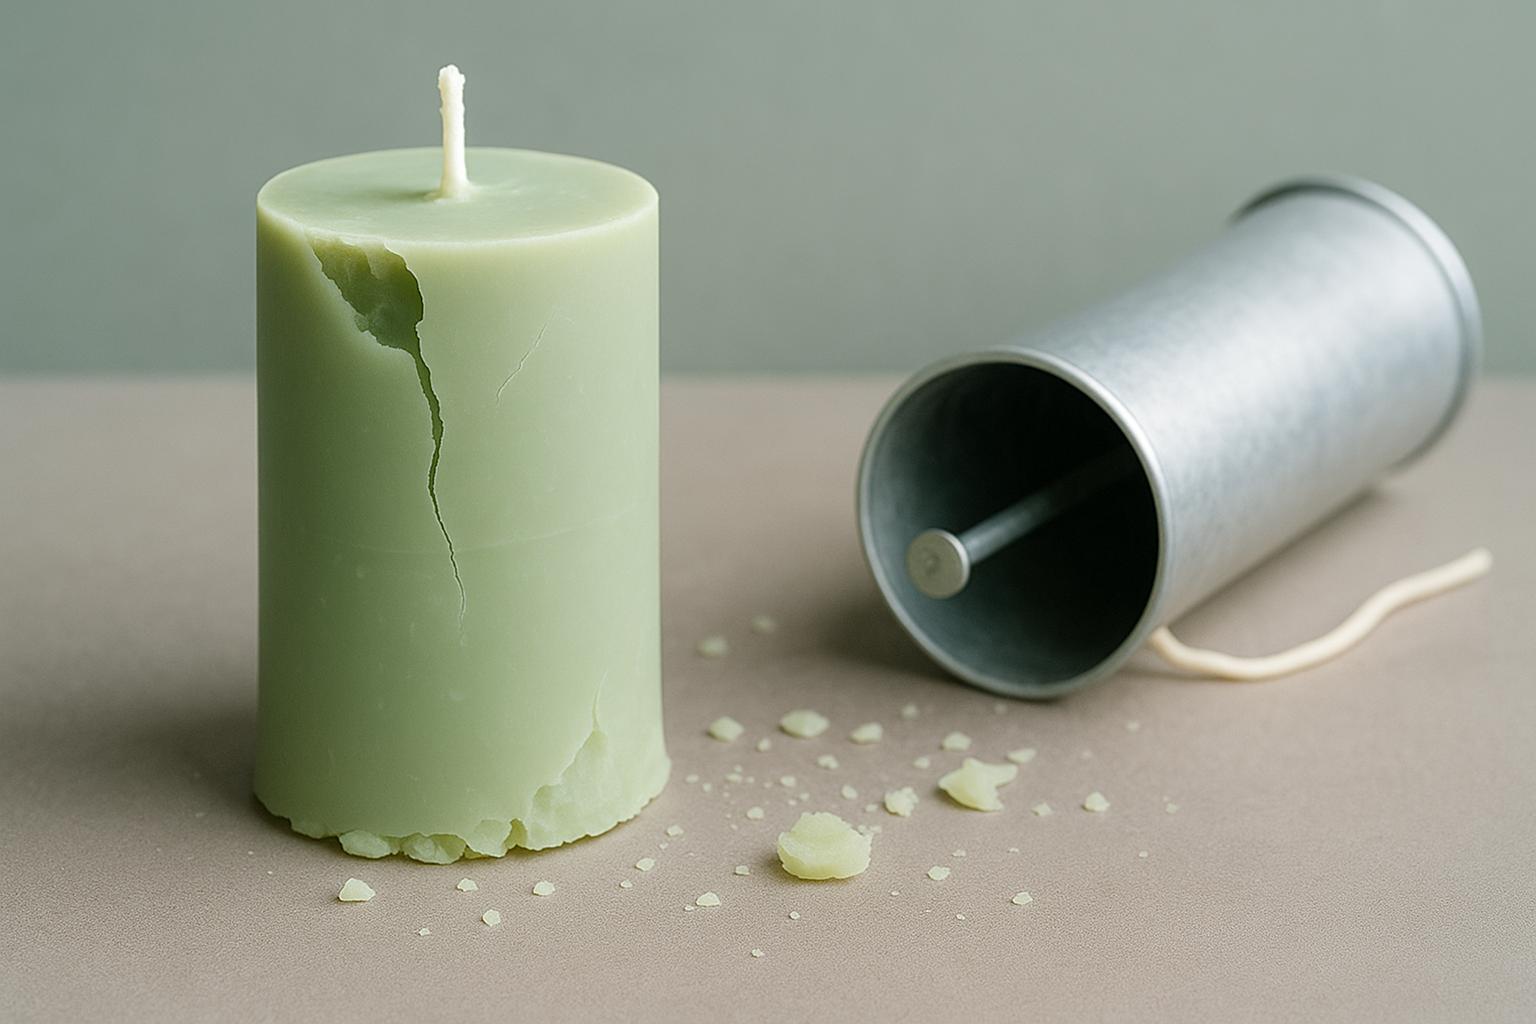
The candle chipped during removal, because too hard a wax was used and the mold was not prepared.
5. Mistake. The candle burns too quickly or unevenly
One of the disappointing experiences that beginners may have is a candle that burns out too quickly—sometimes in just minutes. This not only reduces the candle’s longevity, but also creates uneven burning.
Why does the candle burn out too fast?
The main reasons are usually an incorrectly chosen wick, unsuitable wax, or incorrect component proportions. For example, if the wick is too large for the candle’s diameter, it melts the wax too rapidly. If the wax is not suitable for the particular mold or wick type, that can also affect burn rate and quality.
How to prevent the candle’s fast burning?
Check out the “Candles” article category on our website—where you will find recommendations on which wick to choose according to the wax and the candle’s diameter. Also, which candle wax to choose, how to obtain different candle colors and shades, and more.
Choose our beginner kits, in which everything is already professionally matched—the wick, wax, mold, and even the aroma. Thus you can be sure that the candle will burn evenly and long enough.
Precise selection of components and correct proportions is an important step toward a high-quality, long-burning candle. Do not leave it to chance—we will help!
Small mistakes—big impact
Candle making is a creative and relaxing activity, but it also requires a certain precision and understanding of materials and technique. As we have seen — even small mistakes, for example, an incorrect wick or unsuitable wax, can significantly affect the candle’s quality, appearance, and safety.
The good news — these candle making mistakes are easy to avoid if you use the right materials and follow proven methods. GedKan is here to help you at every step — with quality products, useful advice, and ready-made solutions for both beginners and experienced masters.
Remember — every mistake is also an opportunity to learn and improve.
With patience, knowledge, and good materials you can create candles that delight both you and others.
Good luck!