
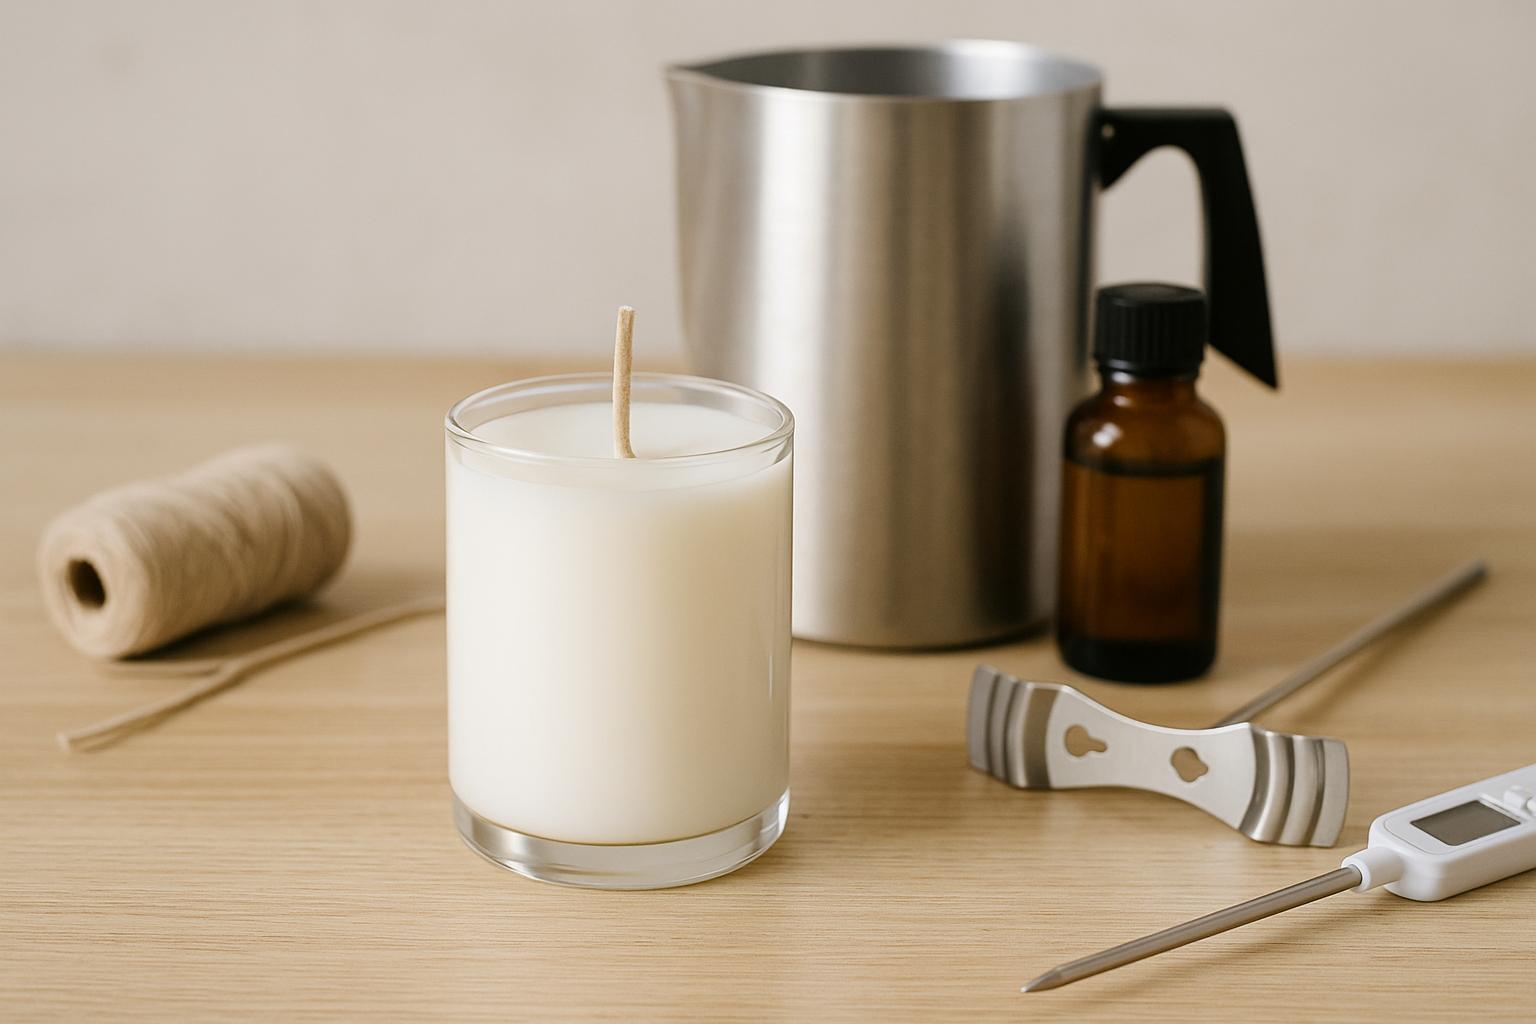
How to pour your first candle
Have you heard of the word Hygge, used in Denmark and Norway to describe cosiness, warmth, the feeling you get when you drink tea in a warm room on a rainy day and light candles on the table? And indeed candles are one of the key ingredients in creating a cosy feeling in a room, they not only make the room feel good, but they also create a pleasant light.
And perhaps even more 'hygge' are the candles you make yourself. And candle making is also a kind of cosy, homely process, sometimes even meditative. I have to say that the idea of making candles is beautiful, but where to start? Here is a detailed but easy-to-understand record of what you need and what you need to do to make your first candle.
Choosing the materials
First you need to understand what materials and tools you need.
Wax
Wax is the most important ingredient and there is a wide range of waxes available, so it is important to understand from the start what kind of candle you want to make. Candle waxes fall into two broad categories - waxes for container candles and waxes for floor candles. The names already tell you that container candles are those that are poured into jars, cups, shells and other candle-casting containers, while floor candles are those that stand freely on a tray, in a candle holder, on a table.
Once the type of candle has been decided, the candle wax can be beeswax, coconut wax, soy wax, palm wax, olive oil wax, stearin or paraffin wax.
With so many choices, you can get confused. For starters, we recommend Kerasoy Container 4130 wax for container wax and Ecosoya PillarBlend wax for a floor wax.
The wick and its holder
Wax alone will not burn, so you also need a wick. You can buy it already waxed and cut into 10cm lengths with a metal base attached, or you can buy it unwaxed by the metre and cut it yourself, but then you will also need a metal base. Container candles require glue that attaches the metal base to the bottom of the container.
Waxed wicks with a metal base are most commonly used for container candles and vegetable (soy, coconut, olive) waxes, but can also be used for floor candles and other waxes. Unwaxed wicks in rolls, on the other hand, are for all types of waxes and candles.
Each wick indicates the diameter of the wax pool that will form when the candle is burnt with that particular wick, but in reality, this diameter depends on several things together - the type of wax, the manufacturer, the fragrances and colourings added, and the making process itself. The right size of the wick can therefore only be determined by experimentation.
It is also important to remember the wick retainer, where you attach the free end of the wick so that the wick will stay in place when the wax is cast into the mould or container.
Candle container and candle molds
Container candles need a container to pour the candle into. You can buy containers specifically designed for pouring candles, but you can also use any cups, jars, bowls, etc.
For standing candles, molds are used. The choice is large and wide, both for the material of the mold and for the outer shape of the candle. For the material, a distinction is made between polycarbonate and silicone molds, for tea lights, also aluminium molds.
Polycarbonate molds are robust, easy and convenient to use, but the variety of shapes is not as great as for silicone molds. Silicone molds are distinguished by the fact that they can be used to cast candles in a wide variety of shapes with very fine detail, for example, the recently popular antique sculpture candles are cast in silicone molds.
Wax melting pot or ladle and stirring tool
Once the wax has been chosen, the shape of the candle has been decided and the mould has been chosen, the wax needs to be melted. There are various melting pots available for this process, both for home use and for professional use. You can also use your melting pot at home.
It is important to make sure that the wax is melted in a water bath at the melting temperature specified by the wax manufacturer (the wax temperature should not exceed 90 °C). Such a pot, where the water is poured into a compartment specially designed for this purpose, is very elegant at home. A spoon, a stick or anything else you feel comfortable with can be used for stirring. Once the wax has melted, it can be strained from the pot using one of the pouring pots.
Thermometer
Each wax has a melting and pouring temperature indicated by the manufacturer, so a thermometer is also needed. As with body thermometers, there are two types of thermometers to choose from: digital or analogue.
Decorations, fragrances and colourings (optional)
To make the candle more interesting, you can add aromatic oils, essential oils and various plant and flower decorations to the wax, as well as dye the candle a colour or cover it with clear or coloured varnish for shine and protection. You can also skip this stage and use classic candles without scent or colour.
Candle molding kits
If you're still unsure about which raw materials to use and in what quantities, you can use our ready-made candle-making kits. They're perfect for yourself and as a gift for budding candlemakers.
The candle making process
Let's get to work, the process is not complicated, but there are steps to follow:
- Prepare the work area, the table can be covered with newspapers or a tablecloth, which you won't regret damaging if the wax spills on it.
- Melt the wax in a melting pot or water bath at the temperature indicated for the wax, or until the wax is completely melted.
- While the wax is melting, prepare the mould or container into which the wax is to be cast. If you have chosen a ready-made wick with a metal base, place it in the middle of the mould or container. If you have chosen an unwaxed wick in a roll, cut the desired length, attach the lower part to the metal base (if the candle will be in a container), or leave it without the base (moulds) and also place it in the middle. You can stick a double-sided sticker on the metal base to stop it from moving out of place when pouring the wax. Tie the top to the stick to secure it.
- Optionally add essential or aromatic oils and colouring, and mix. It is important to note that it is important to follow the manufacturer's instructions on the proportions and doses in which the wax, oils and dyes should be mixed. Oil manufacturers also tend to specify the temperature at which the wax should be added.
- Decorative flowers or plants shall be placed on the sides of the container so that the decorations do not ignite when the candle is lit.
- When the wax has reached the desired temperature, carefully pour it into the mould or container, arranging the wick so that it is in the middle.
- Allow the wax to harden completely, the length of time depends on the size of the candle, but it would be very safe to leave it to harden for 24 hours.
- Once the candle has hardened, carefully remove it from the mould. Cut off the excess wick so that only about 1 cm remains.
- Allow the candle to rest for at least another 48 - 72 hours before burning.
- Enjoy the fruits of your labour and get ideas for your next candle :)
Remember that you don't always need professional tools at the beginning. Some of them can be substituted with what you find at home, for example, for container candles you can use already-used jars or other heat-resistant containers. Tea or dried fruit can be used for decorations. For the wick retainer, you can use a knitting needle or a bamboo stick. The most important thing is to create with fun! It is important to always take care of safety, both when making the candle and when burning it!
Good luck! And ask us if anything goes wrong!
Related Products
Waxed wick with metal sustainer, ECO
Beeswax, white, refined, hard

Soy wax for pillar candles, EcoSoya PillarBlend

Pearl sand candle wax, pink
Waxed wick with metal sustainer, TB

Soy wax for pillar candles, Kerasoy Pillar 4120

Beeswax, white, refined, soft

Beeswax, 900g

Wick sustainer for wood wicks, round

Coconut wax for pillar candles, ecococo PillarBlend

Olive wax for pillar candles, ecoolive PillarBlend

Olive wax for container candles, ecoolive ContainerBlend

Palm wax, crystallized with feather finishing, Britz BWC 07

Palm wax, crystallised with trees finishing, Britz BWC 16

Palm wax, crystallized with stars finishing, Britz BWC 09

Wick holder, metal, 10cm

Wood wick, 20x130 mm

Wood wick, cross, 13x130 mm

Needle for fixing wick, 10cm

Wax and soap melter, 15L, 1100W, with heated tap

Cintronella, essential oil

Wick holder, wood, 11cm

Digital thermometer with probe

Analog thermometer, white, -10+110C

Analog thermometer, yellow, -20+150C

Coconut wax for container candles, ecococo ContainerBlend

Wick sustainer sticker, 20mm, 20 pieces

Orange slices

Paraffin wax for candles, fully refined, FUSHUN 56/58,...

Wax and soap melter, 27L, 1800W

Cedarwood, essential oil

With gloss effect, colored, 80ml, dye for varnish and epoxy

Lavender, essential oil

Warm woods & cashmere, fragrance oil
Melon and honey, fragrance oil

Blueberry and vanilla, fragrance oil

Wax and soap melter, 15L, 1800W with tap

Peach couture, fragrance oil

Mint, essential oil

Cuban tobacco and oak, fragrance oil

Dried grapefruit slices
